


Restoration Decal Request and Custom Order TLM
Decal Installation Instructions
About the Decals
1. All of The Life Machine Decals are made from high quality printed vinyls that guaranteed will last under heavy duty usage. Generally, it is made from UV-Gel printed Automotive Grade Polymeric Vinyls, unless otherwise specified.
2. Decals with separated design will come with a mask that aids installation.
3. Wrap, extra large, and smaller decals may not have a mask.
4. Wrap decals are made with a small gap at the back of the tube to ease installation. If such comes with overlap, you may want to trim them to fit before application.
5. Decals can be installed with both Wet and Dry application method. Wet application is recommended for novices.
Frame Preparation
1. Wait for 1-2 weeks after painting bike to apply decals. Paint that is not fully dried and cured will outgas, which may cause permanent bubbles in your decals.
2. Be sure frame is clean and dry
3. Do not use soap or other cleaners with lotions or oils on the frame. These will leave a residue that will hinder adhesion of the decals.
4. Dry surface with lint-free cotton cloth or quality paper towel
Items needed
1. Clean Hands
2. Squeegee (or credit card)
3. Tray
4. Masking tape and pencil -> for marking only, not mandatory
Additional for wet application:
5. Wetting solution (fill spray bottle with water; add 1-2 drops Dawn liquid soap, or other soap without oils)
6. Dry cloth or paper towel
Wet Application
1. Place a piece of masking tape just above and below area on frame that will receive the decal (or anywhere that you think necessary to align the position). Using the dull pencil, mark the center of the tube and the center of the decal (on the mask). These marks will help you line up the decal.
2. Place the decal face down on the tray and carefully peal the backing paper away from the decal, exposing the adhesive surface (Fig. A)
3. Spray adhesive side generously with the wetting solution (Fig. B); Also spray the section on the frame between the masking tape (Fig. C)
4. Position decal on frame using the marks on the masking tape and the decal mask to align (Fig. D).
5. Lifted and reposition the decal while both surfaces are wet.
6. When positioned correctly, use squeegee to remove the wetting solution and any bubbles, applying pressure from the center and working outward. Repeat to secure decal (Fig. E). If decal lifts up around the edges of the mask, wait 1-2 minutes and squeegee again.
7. Wait 30-60 minutes. Weather affects drying time which may exceed 60 minutes. Adhesive reaches optimal tack at around 24 hrs.
8. With squeegee in hand (in case decal lifts), start at a corner, carefully pull mask at a 45 degree angle to remove decal (Fig. F)
9. If bubbles form, use a fine pin to remove. Prick the edge of the bubble and press the air out toward the hole.

Dry Application
Same as Wet Application above but excluding step no. 3, 5, and 6.
Dry application is way faster than the wet one, but less position accuracy if you are not used to installing decals. In general, it is recommended for parts that did not need precise positioning e.g. accessories decals, smaller decals, etc.
Finishing
1. Clear coat is optional for all The Life Machine vinyl decals, and will prolong the life of those not otherwise protected.
2. Do not use lacquer-based clear. It will damage the decals and/or adhesive.
3. Wait at least 24 hours before clear coating your decals,
4. Because the solvents in acrylic enamel clear are aggressive, it is necessary to apply several very light coats, one coat at a time, allowing 10 minutes between coats. Read instruction on product label.
5. After several light coats, wait 10 minutes and apply final medium coat of clear. If an additional coat is desired, wait 7 days.
Description
Can't Find Your Decals?
No worries—we can create them for you.
Our Custom Order service is designed for bikes that aren't yet available in our catalog. Whether your decals are rare, damaged, faded, or completely missing, we'll work with you to recreate them as accurately as possible.
We Can Help With
-
Vintage bike decals
-
Component decals
-
Custom designs, colors, and variations
Simply send us what you have. Even old photos, damaged decals, or catalog images can often be enough for us to evaluate your project. Most custom requests are possible!
How It Works
-
Send email to admin@thelifemachine.com with photos and any reference materials.
-
We'll review your request and discuss the details with you.
-
Once everything is confirmed, we'll list your Name on this product page
-
Place your Custom Order
-
We'll create the design and send you a preview
-
We'll begin production after your confirmation
We believe clear communication is the key to a successful custom project. We'll work closely with you throughout the process to ensure the final design meets your expectations before production begins.
Why Order From The Life Machine?
✓ Experienced in recreating rare and discontinued decals
✓ Responsive, friendly communication throughout the project
✓ Trusted by customers worldwide with thousands of successful custom restorations
✓ Premium automotive-grade materials and professional printing
✓ Every project is carefully reviewed before production
Ready to Start?
Send email to admin@thelifemachine.com and we'll review your request and get back to you as soon as possible!
Got Decals for my 90s GT Zaskar and made some custom ones. They turned out great. High quality and good communication. Nice!
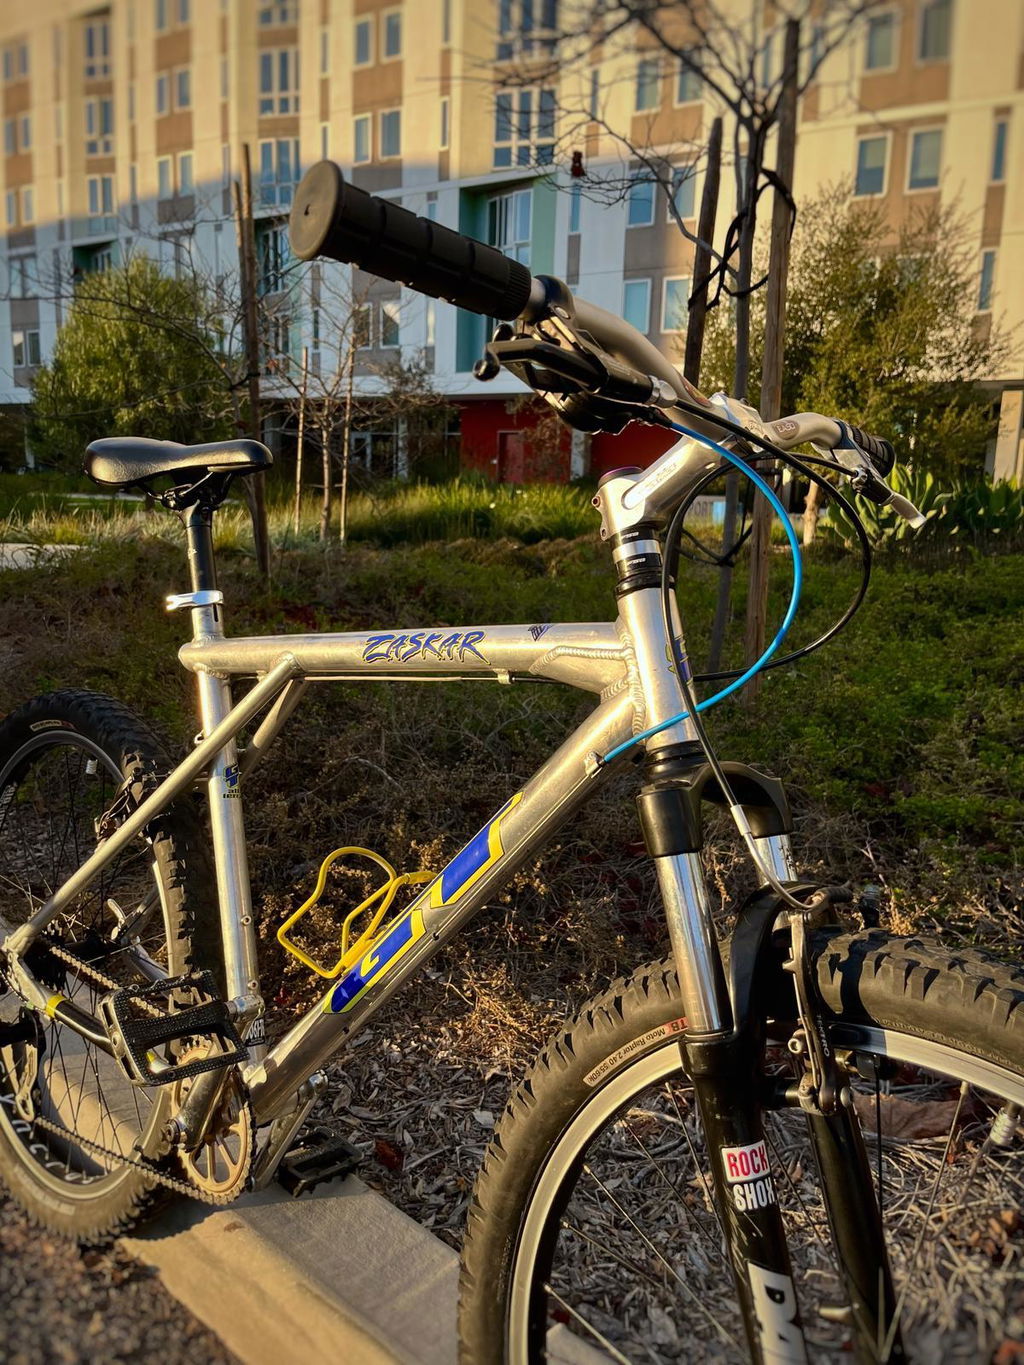
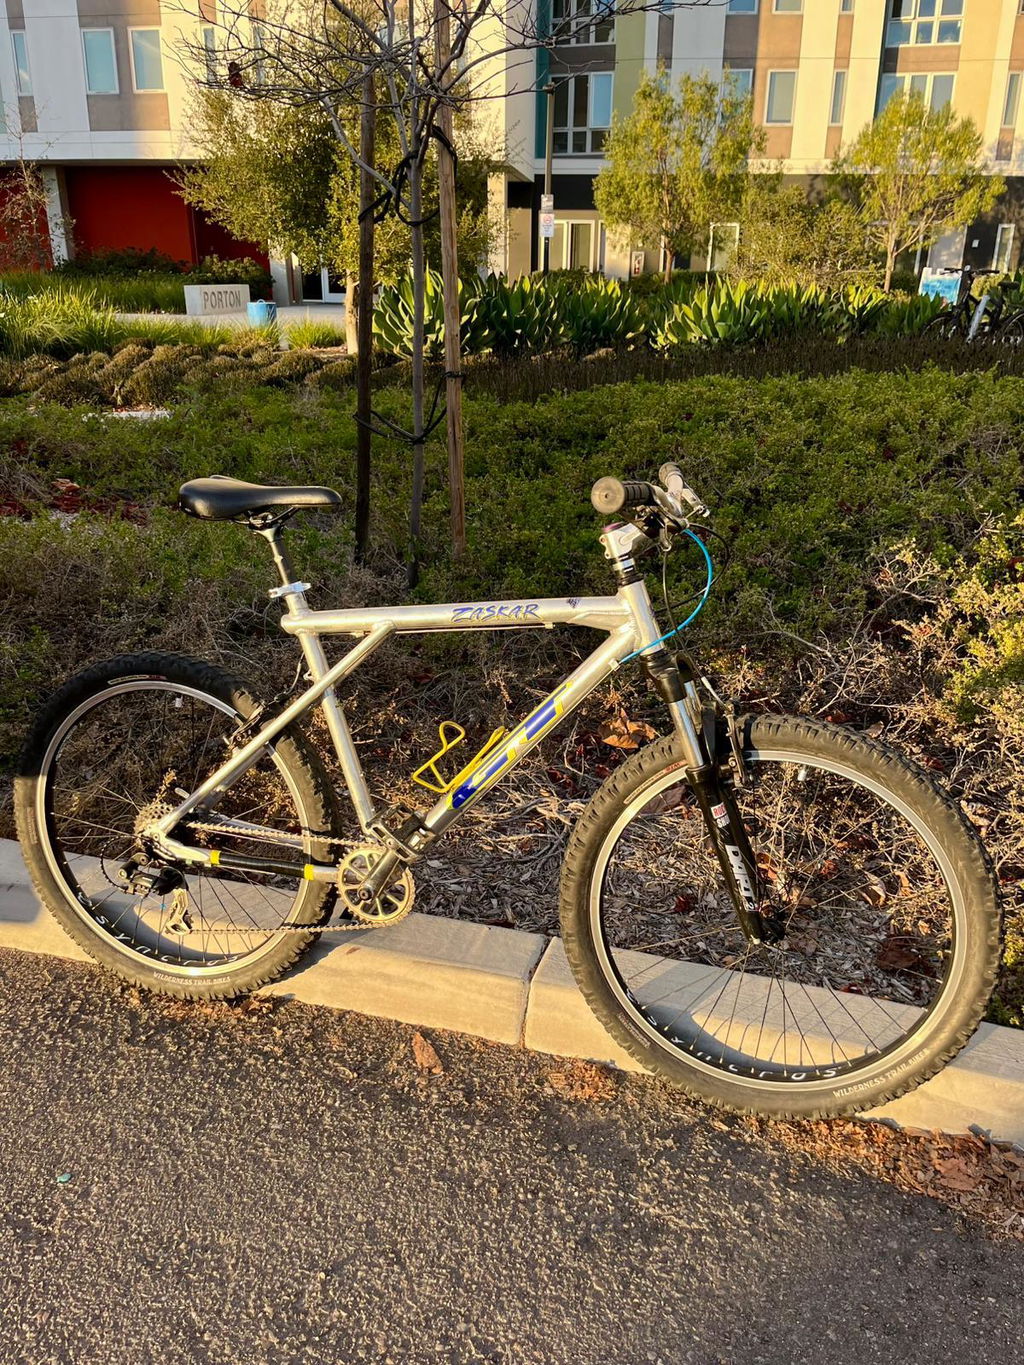
Had custom stickers made up for a special project. I couldn't be happier with how they came out. 10/10.
Quality is 10/10. Team was able to modify an existing sticker set to match the model I needed. Matches 100%. Real deal
Restoration Decal Request and Custom Order TLM
Great decals for my Trek 400, quick shipping. Happy customer.

